Want to grow mushrooms but think it needs to be simpler and more expensive? High-tech setups can be daunting and costly, making mushroom farming seem out of reach for enthusiasts.
Our comprehensive guide will help you set up a low-tech mushroom farm. We'll walk you through each step, from choosing the suitable mushroom varieties to creating the perfect growing environment, making home mushroom cultivation easy, affordable, and accessible for everyone.
1. Choosing the Right Mushroom Varieties

Selecting suitable mushroom varieties is crucial for a successful low-tech mushroom farm. Start with varieties known for their ease of cultivation and resilience.
- Oyster mushrooms: Popular for beginners due to their fast growth and adaptability. They can be cultivated on various substrates, such as straw, sawdust, and coffee grounds, making them versatile and easy to manage.
- Shiitake mushrooms: Known for their rich flavour and medicinal properties. They thrive on hardwood logs or sawdust. They require more patience and take longer to mature, but the results are gratifying.
- Button mushrooms (Agaricus bisporus): Commonly found in supermarkets, are well-suited for low-tech setups. They grow well on composted manure and straw, making them accessible for home cultivation.
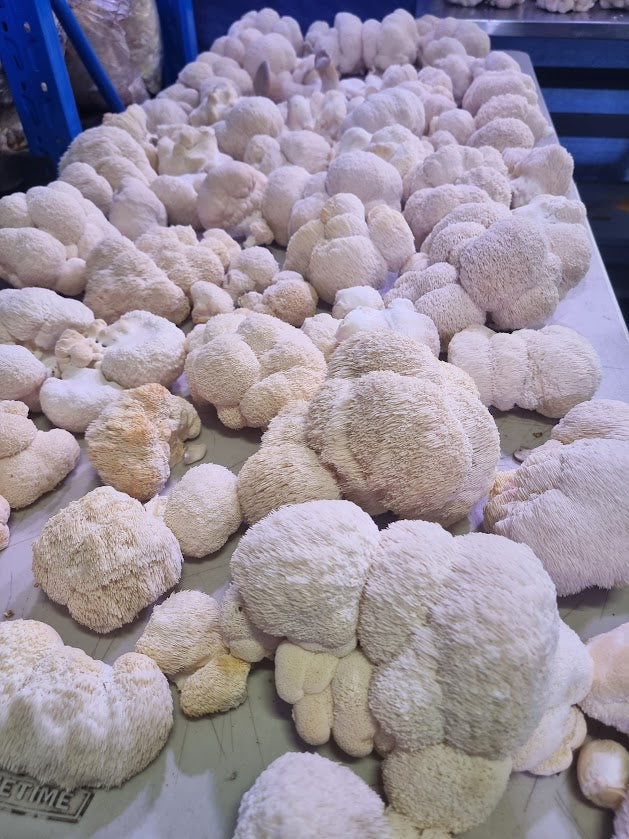
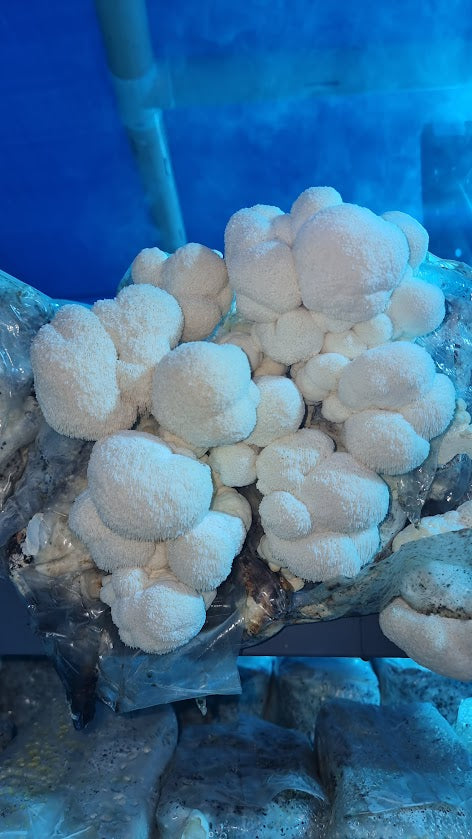
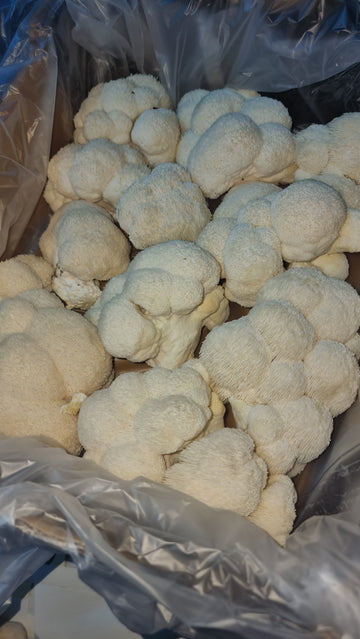
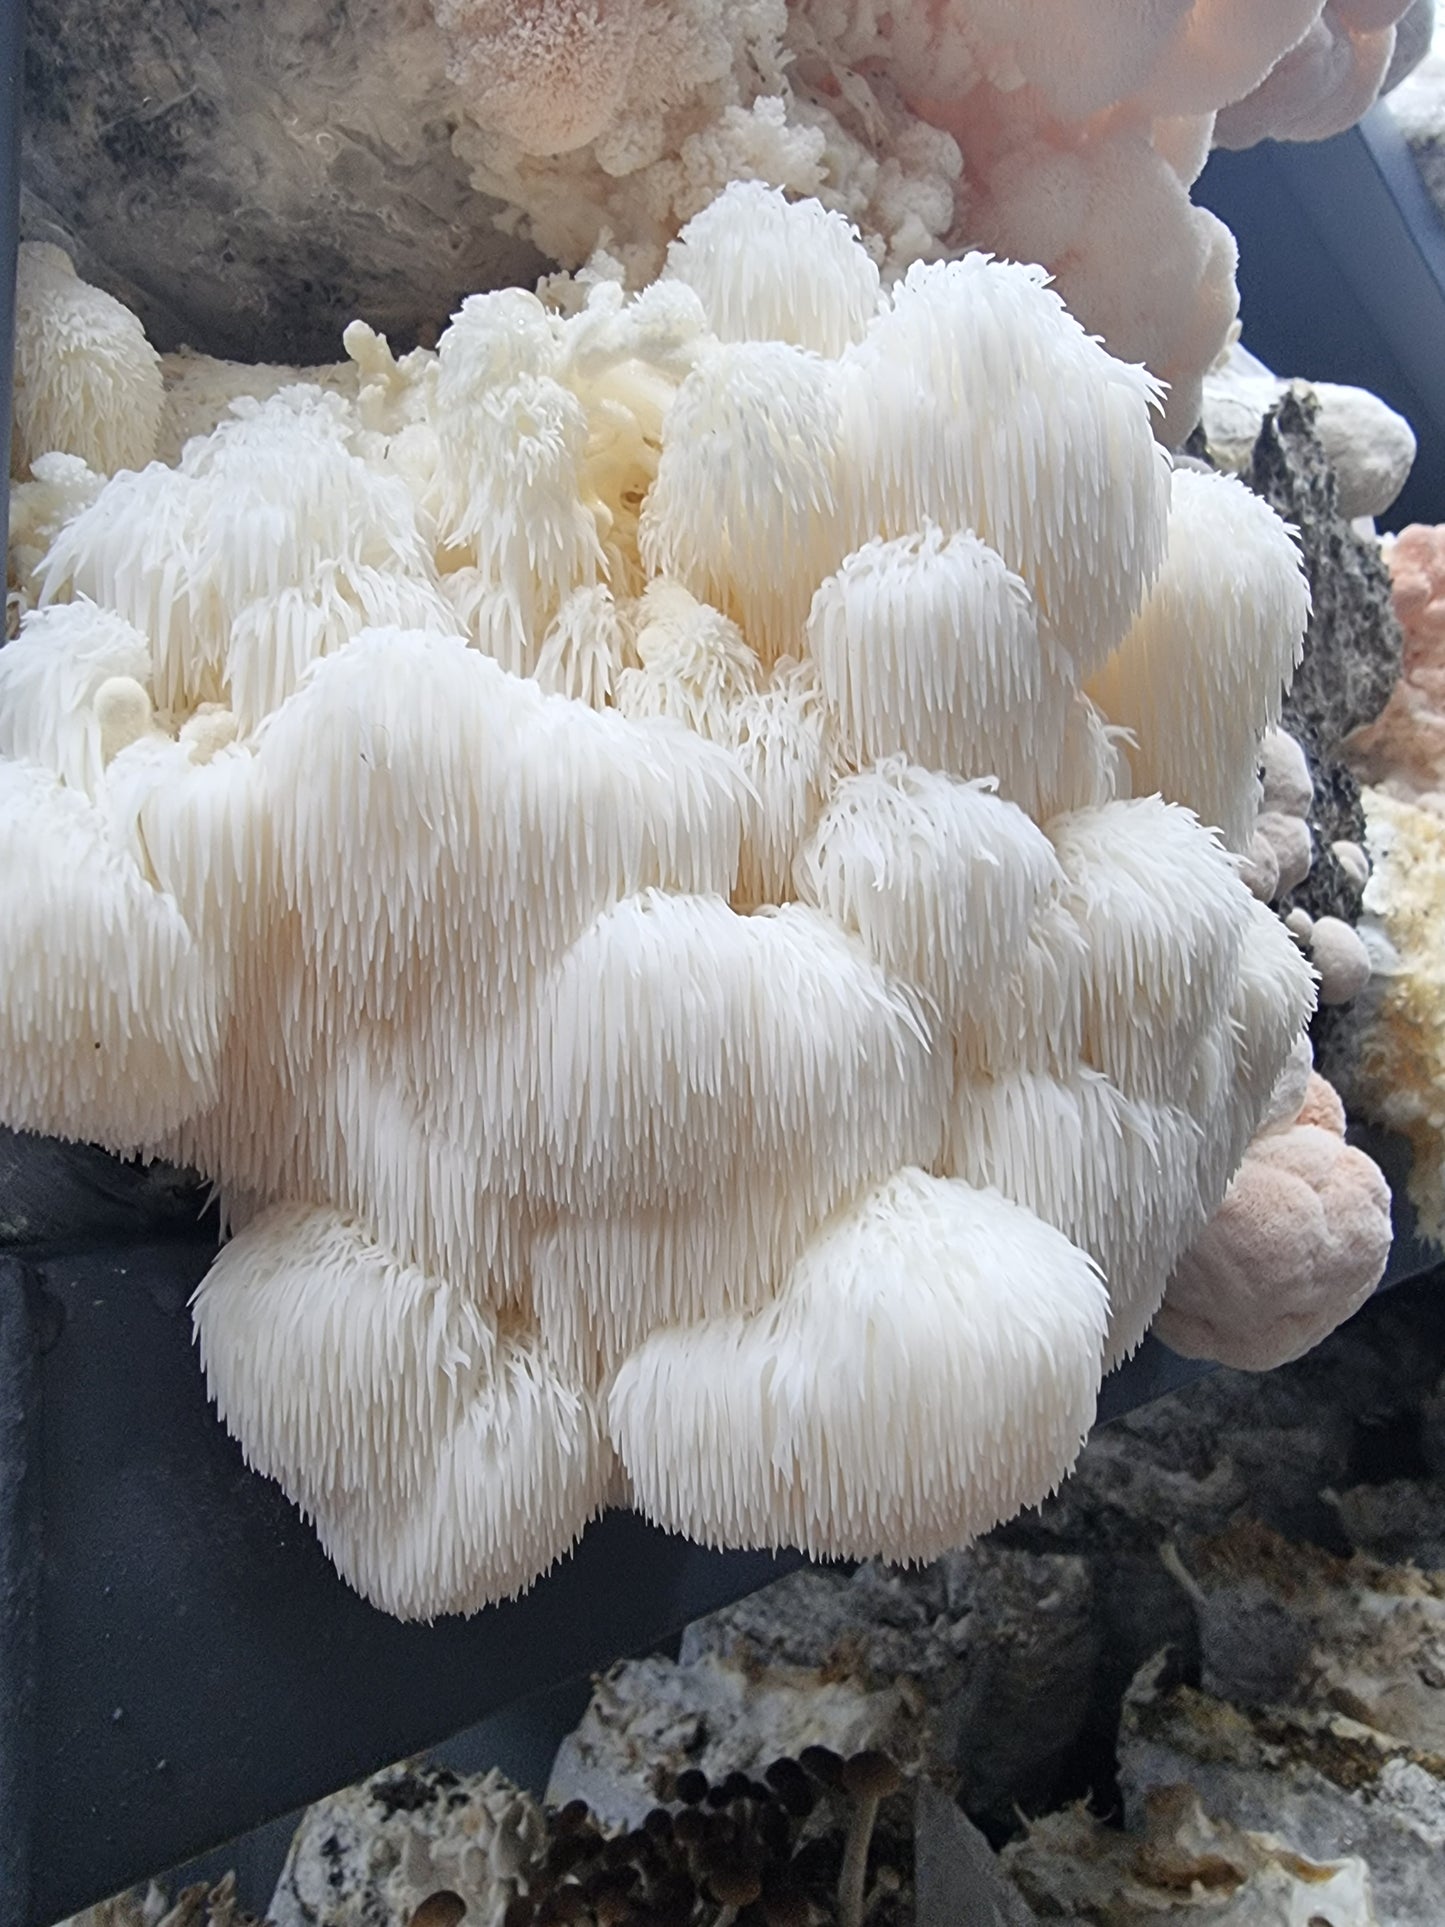
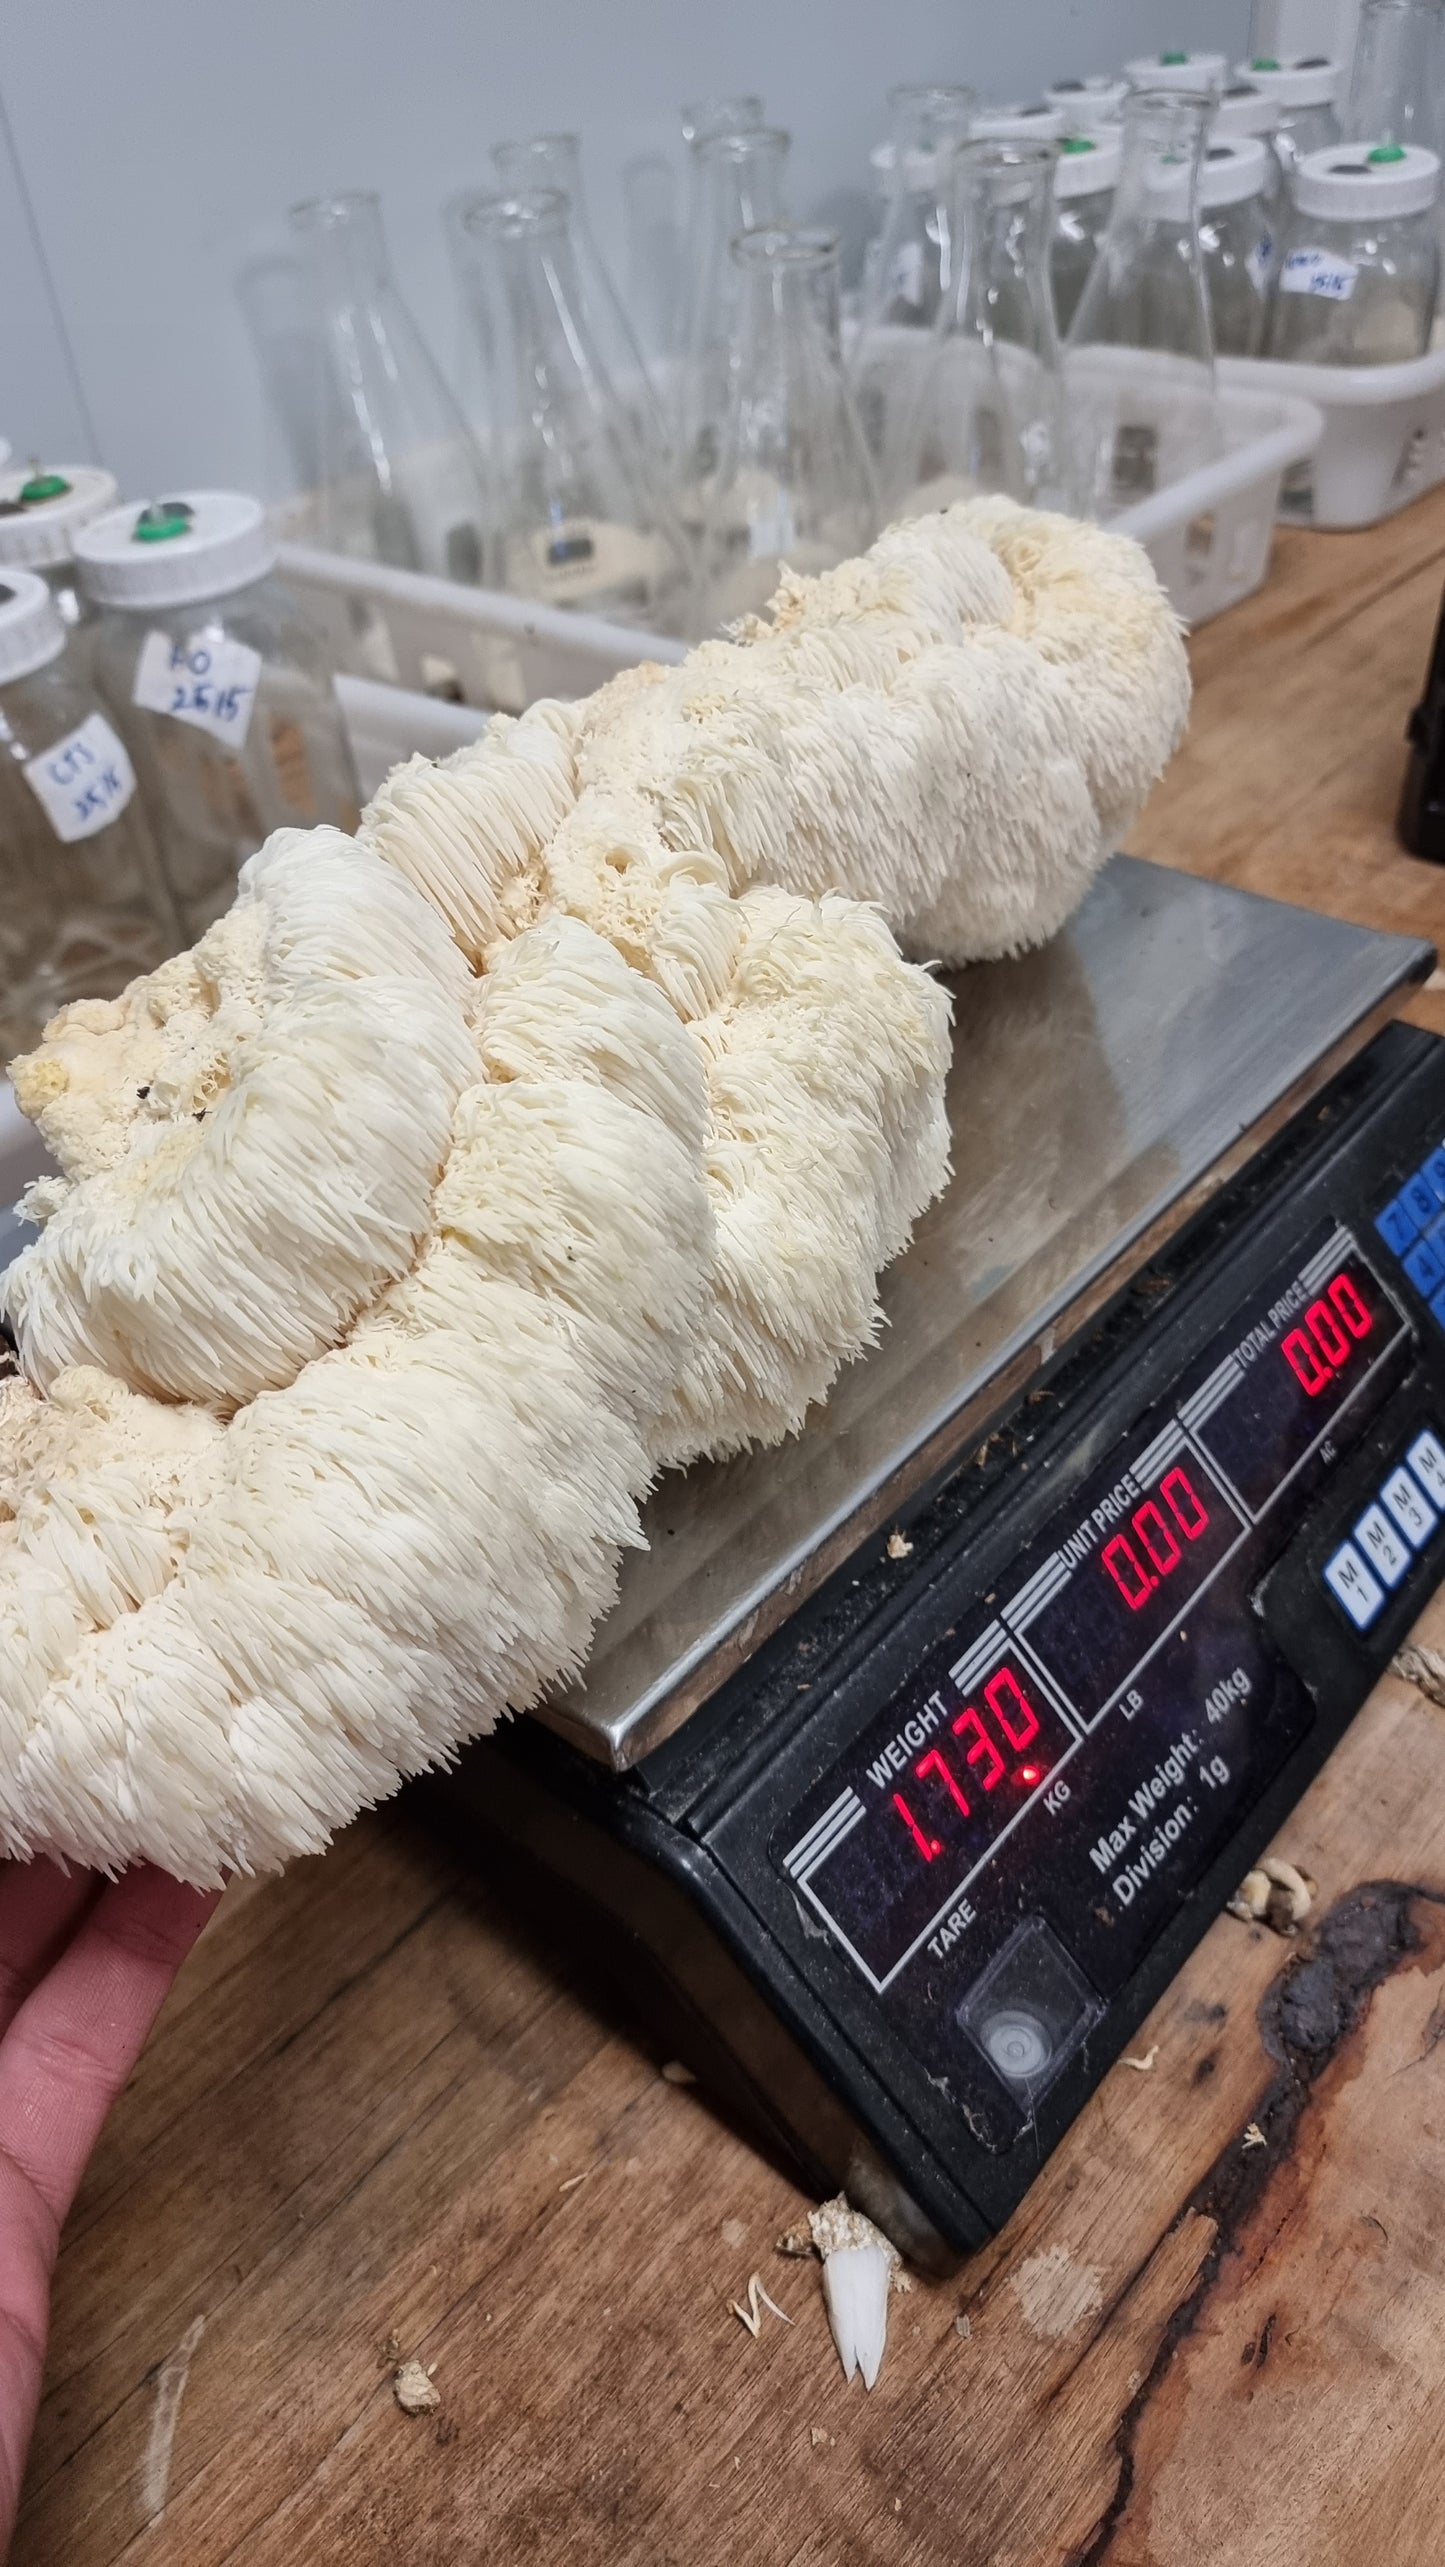
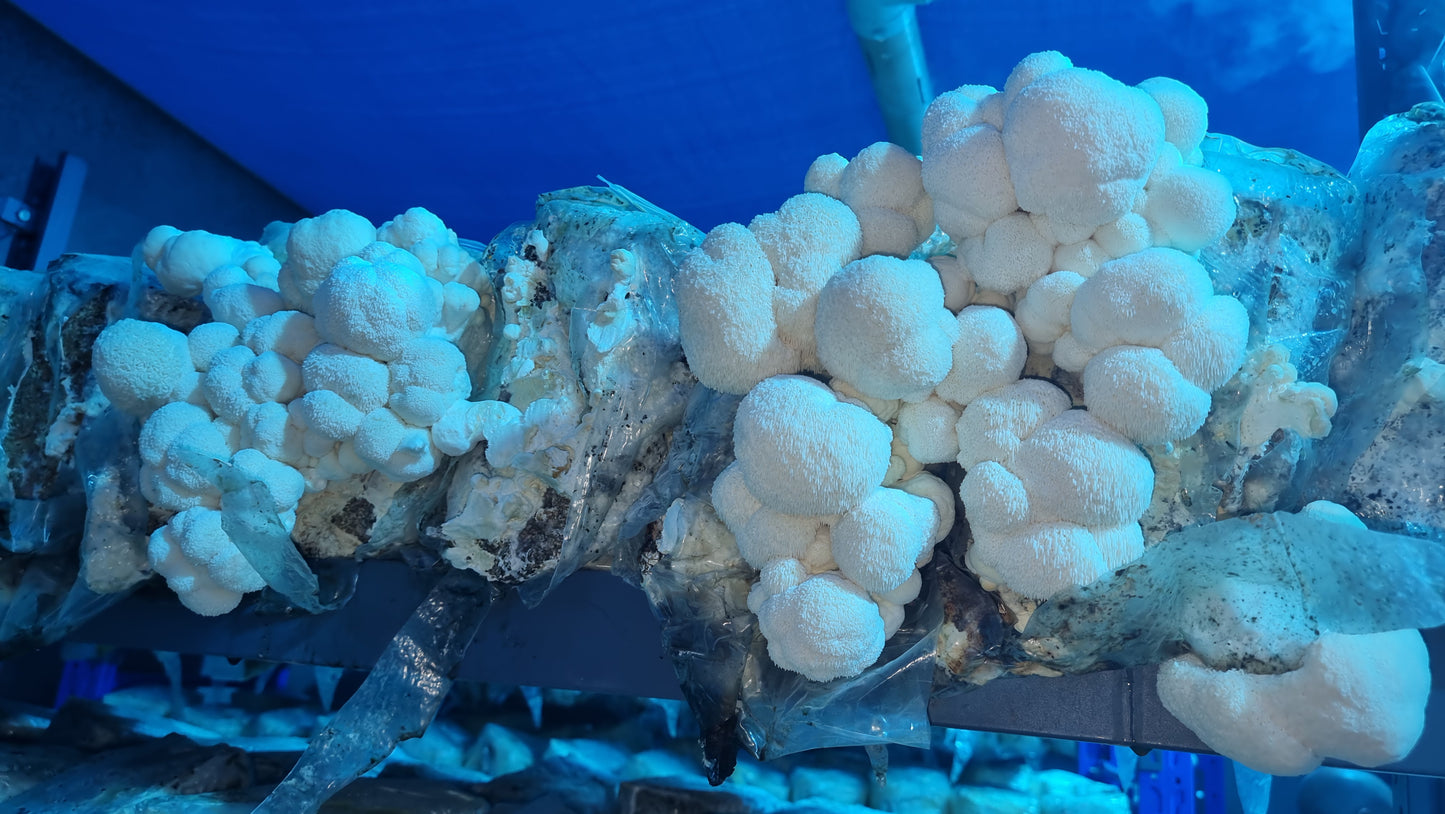
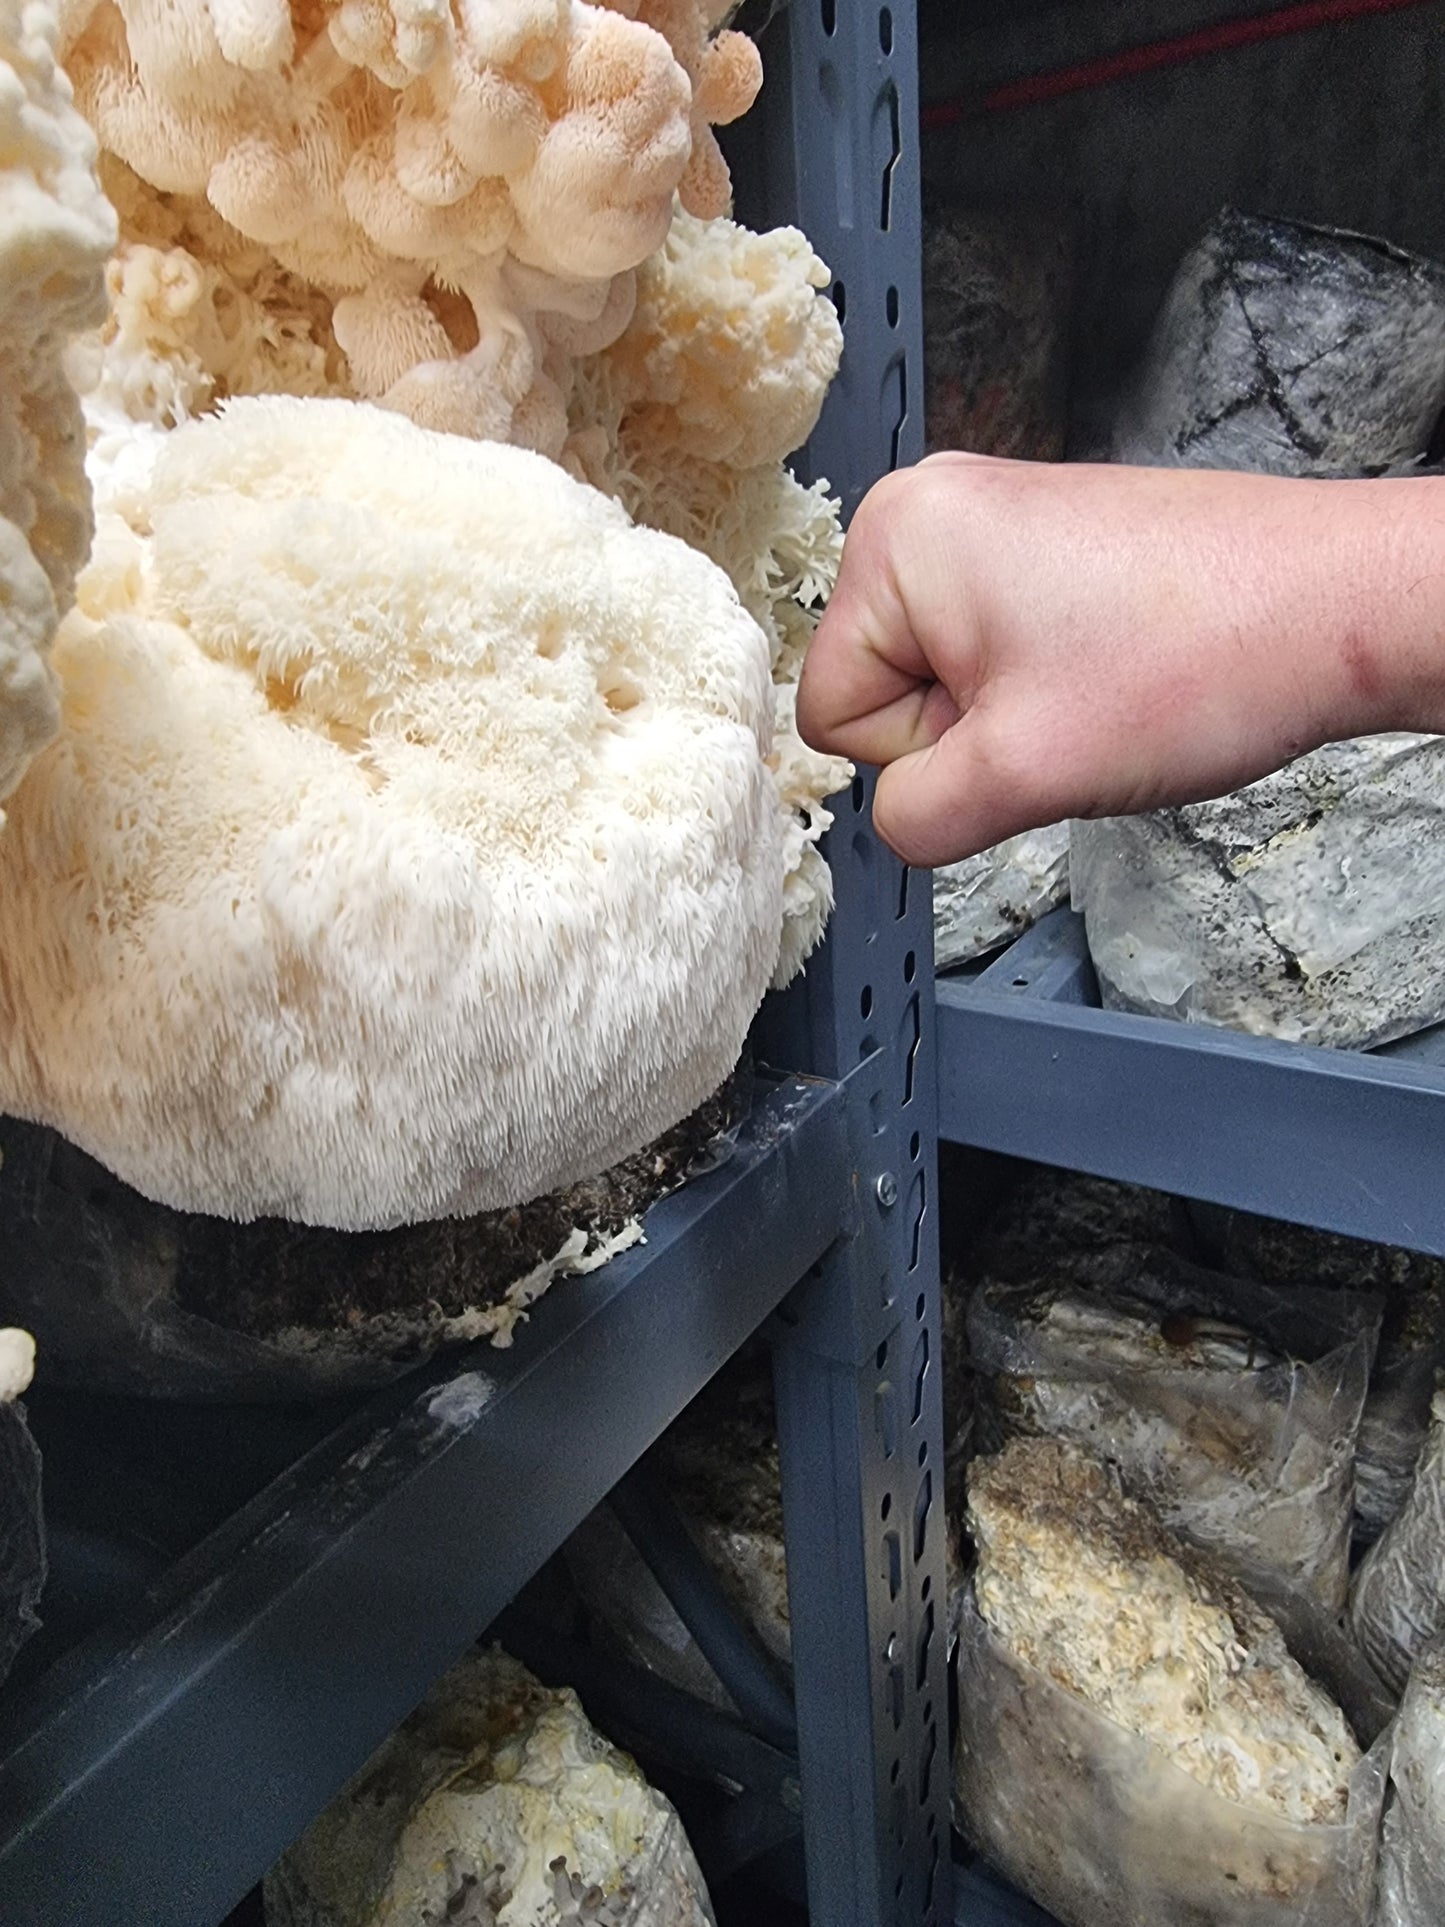
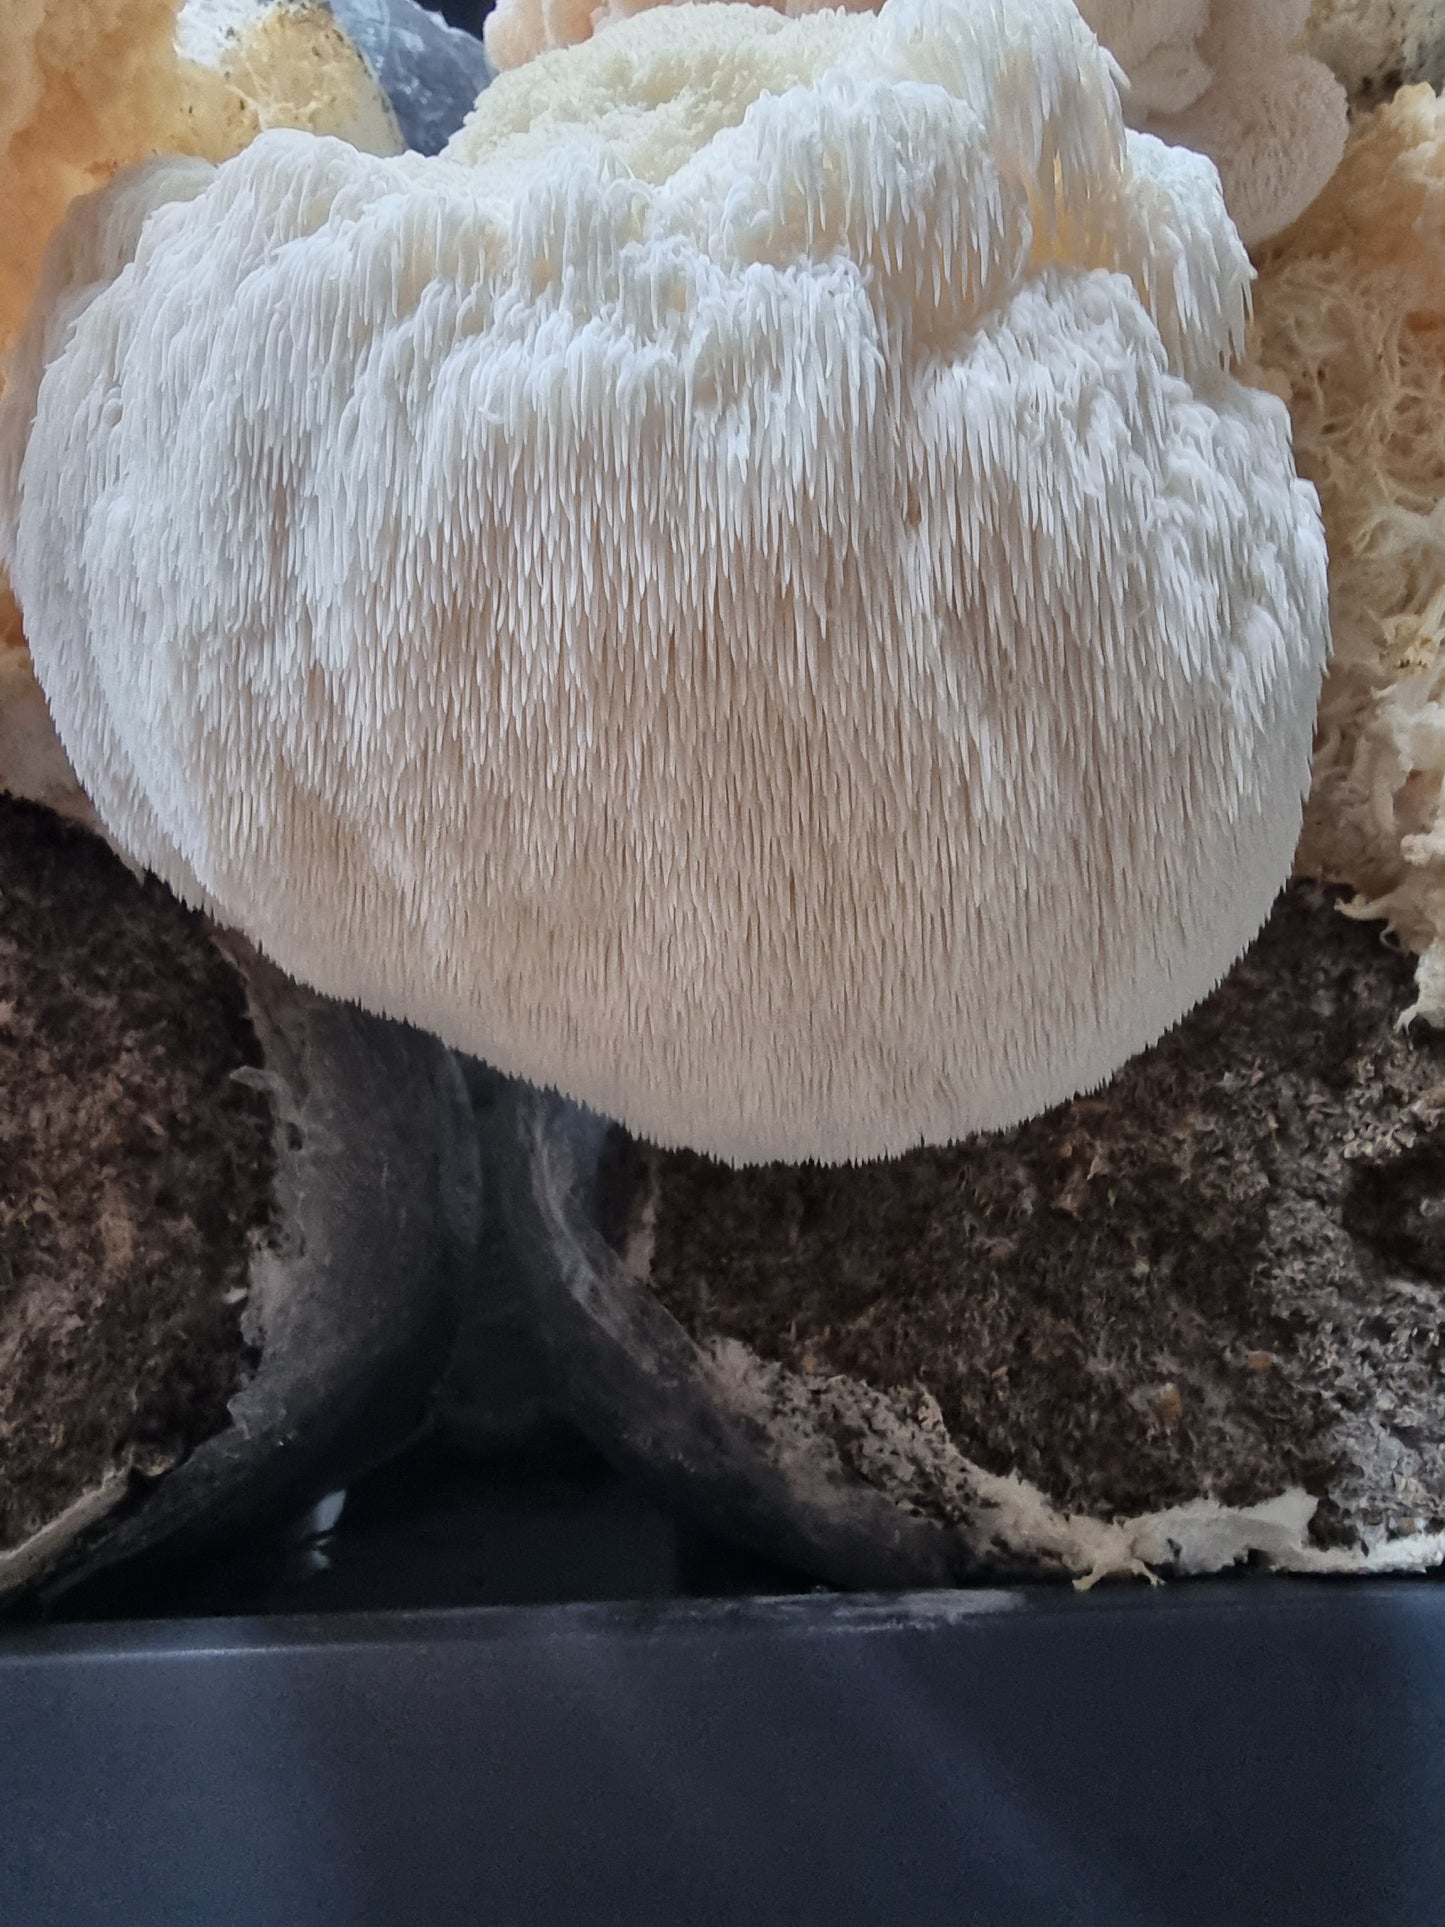
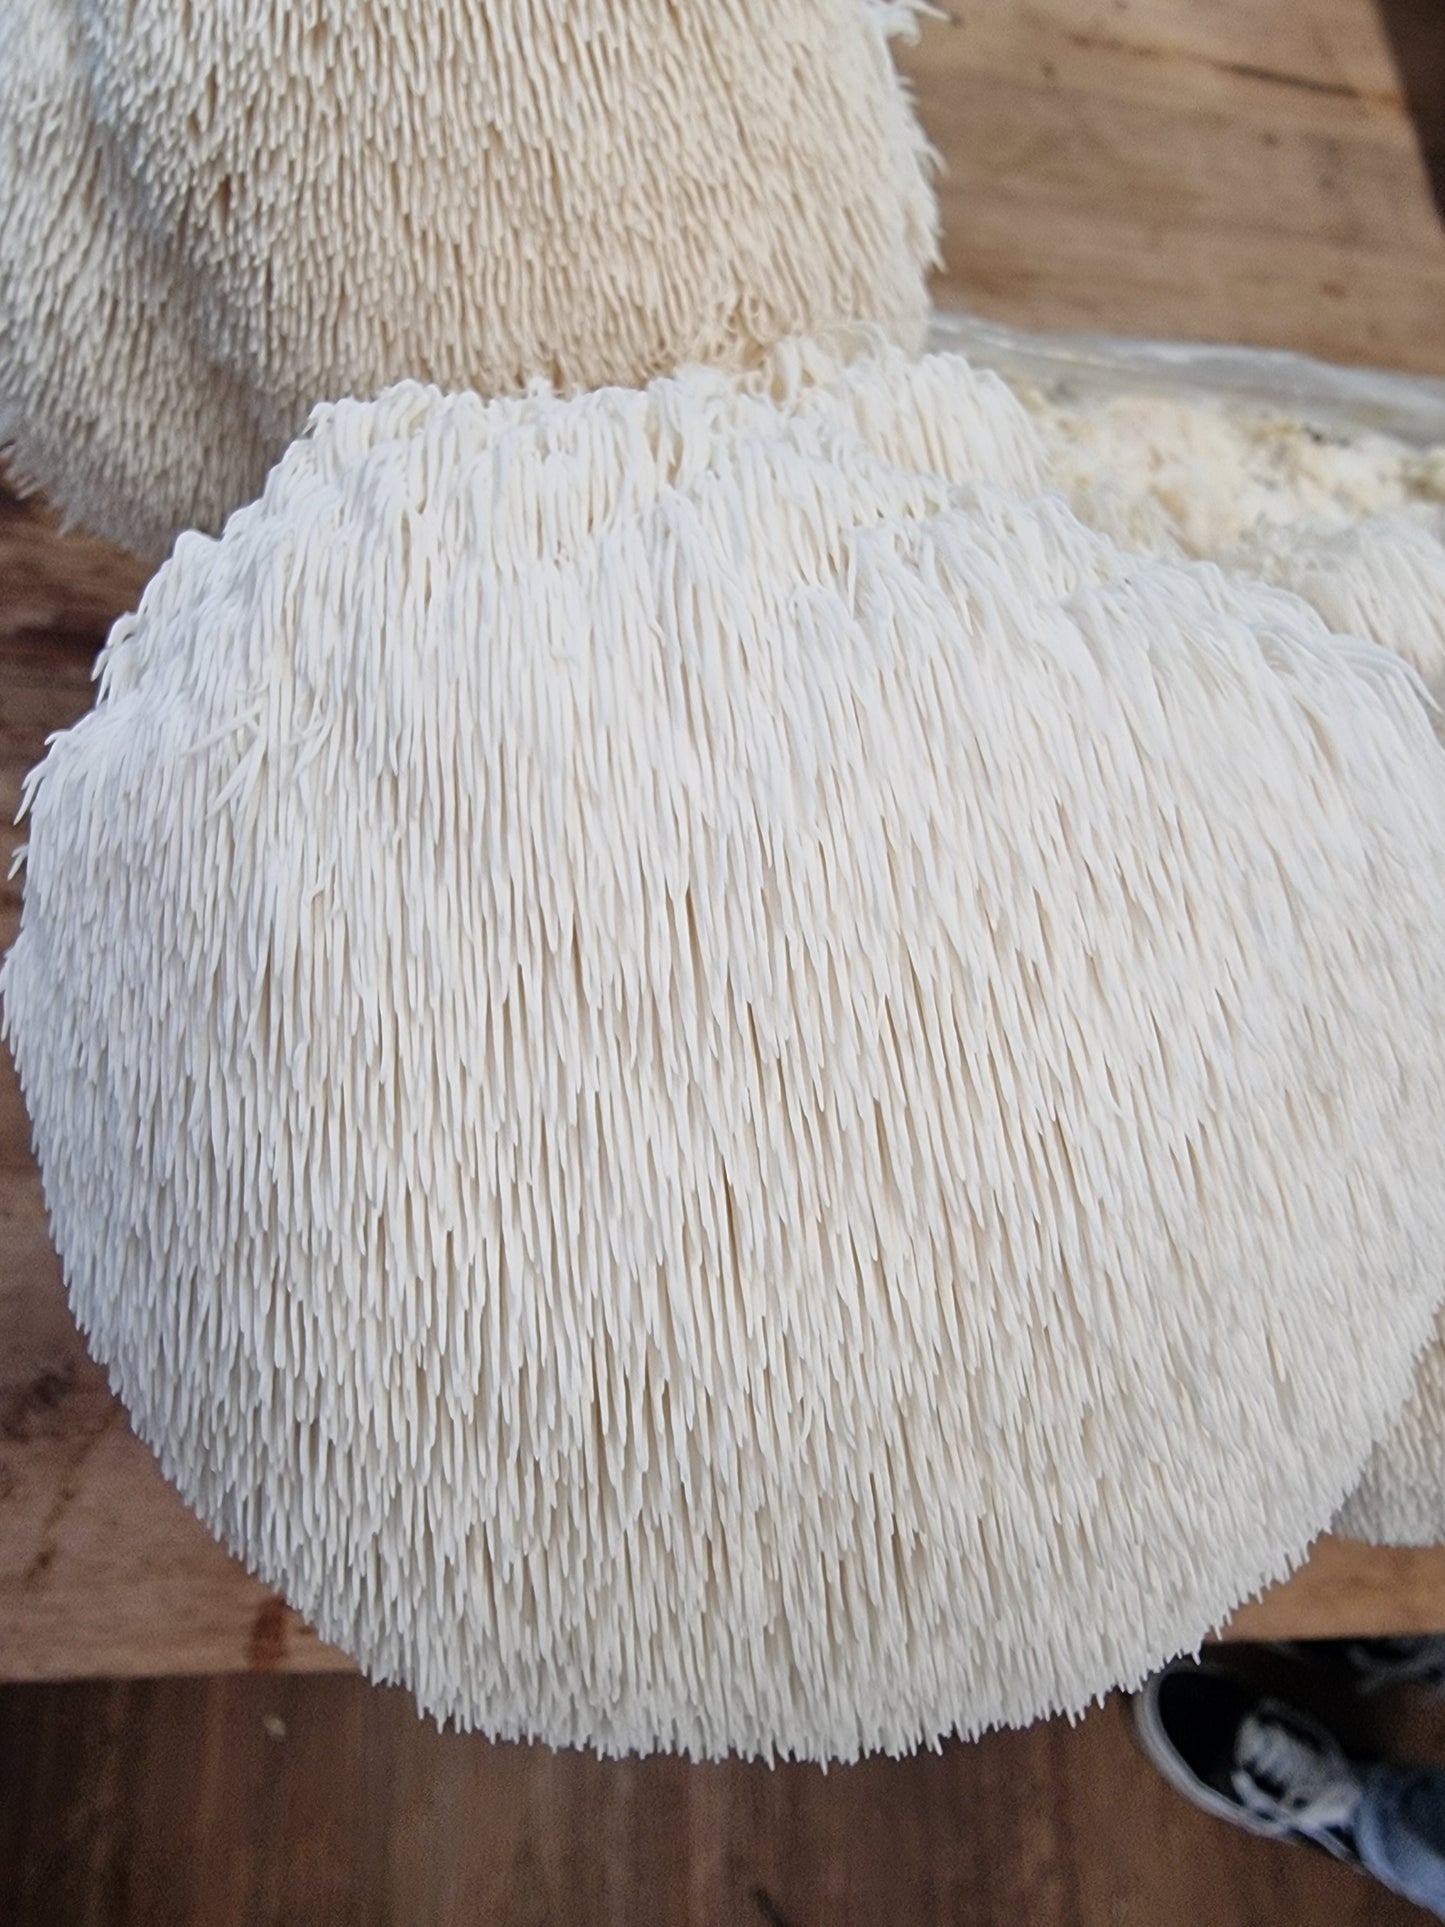
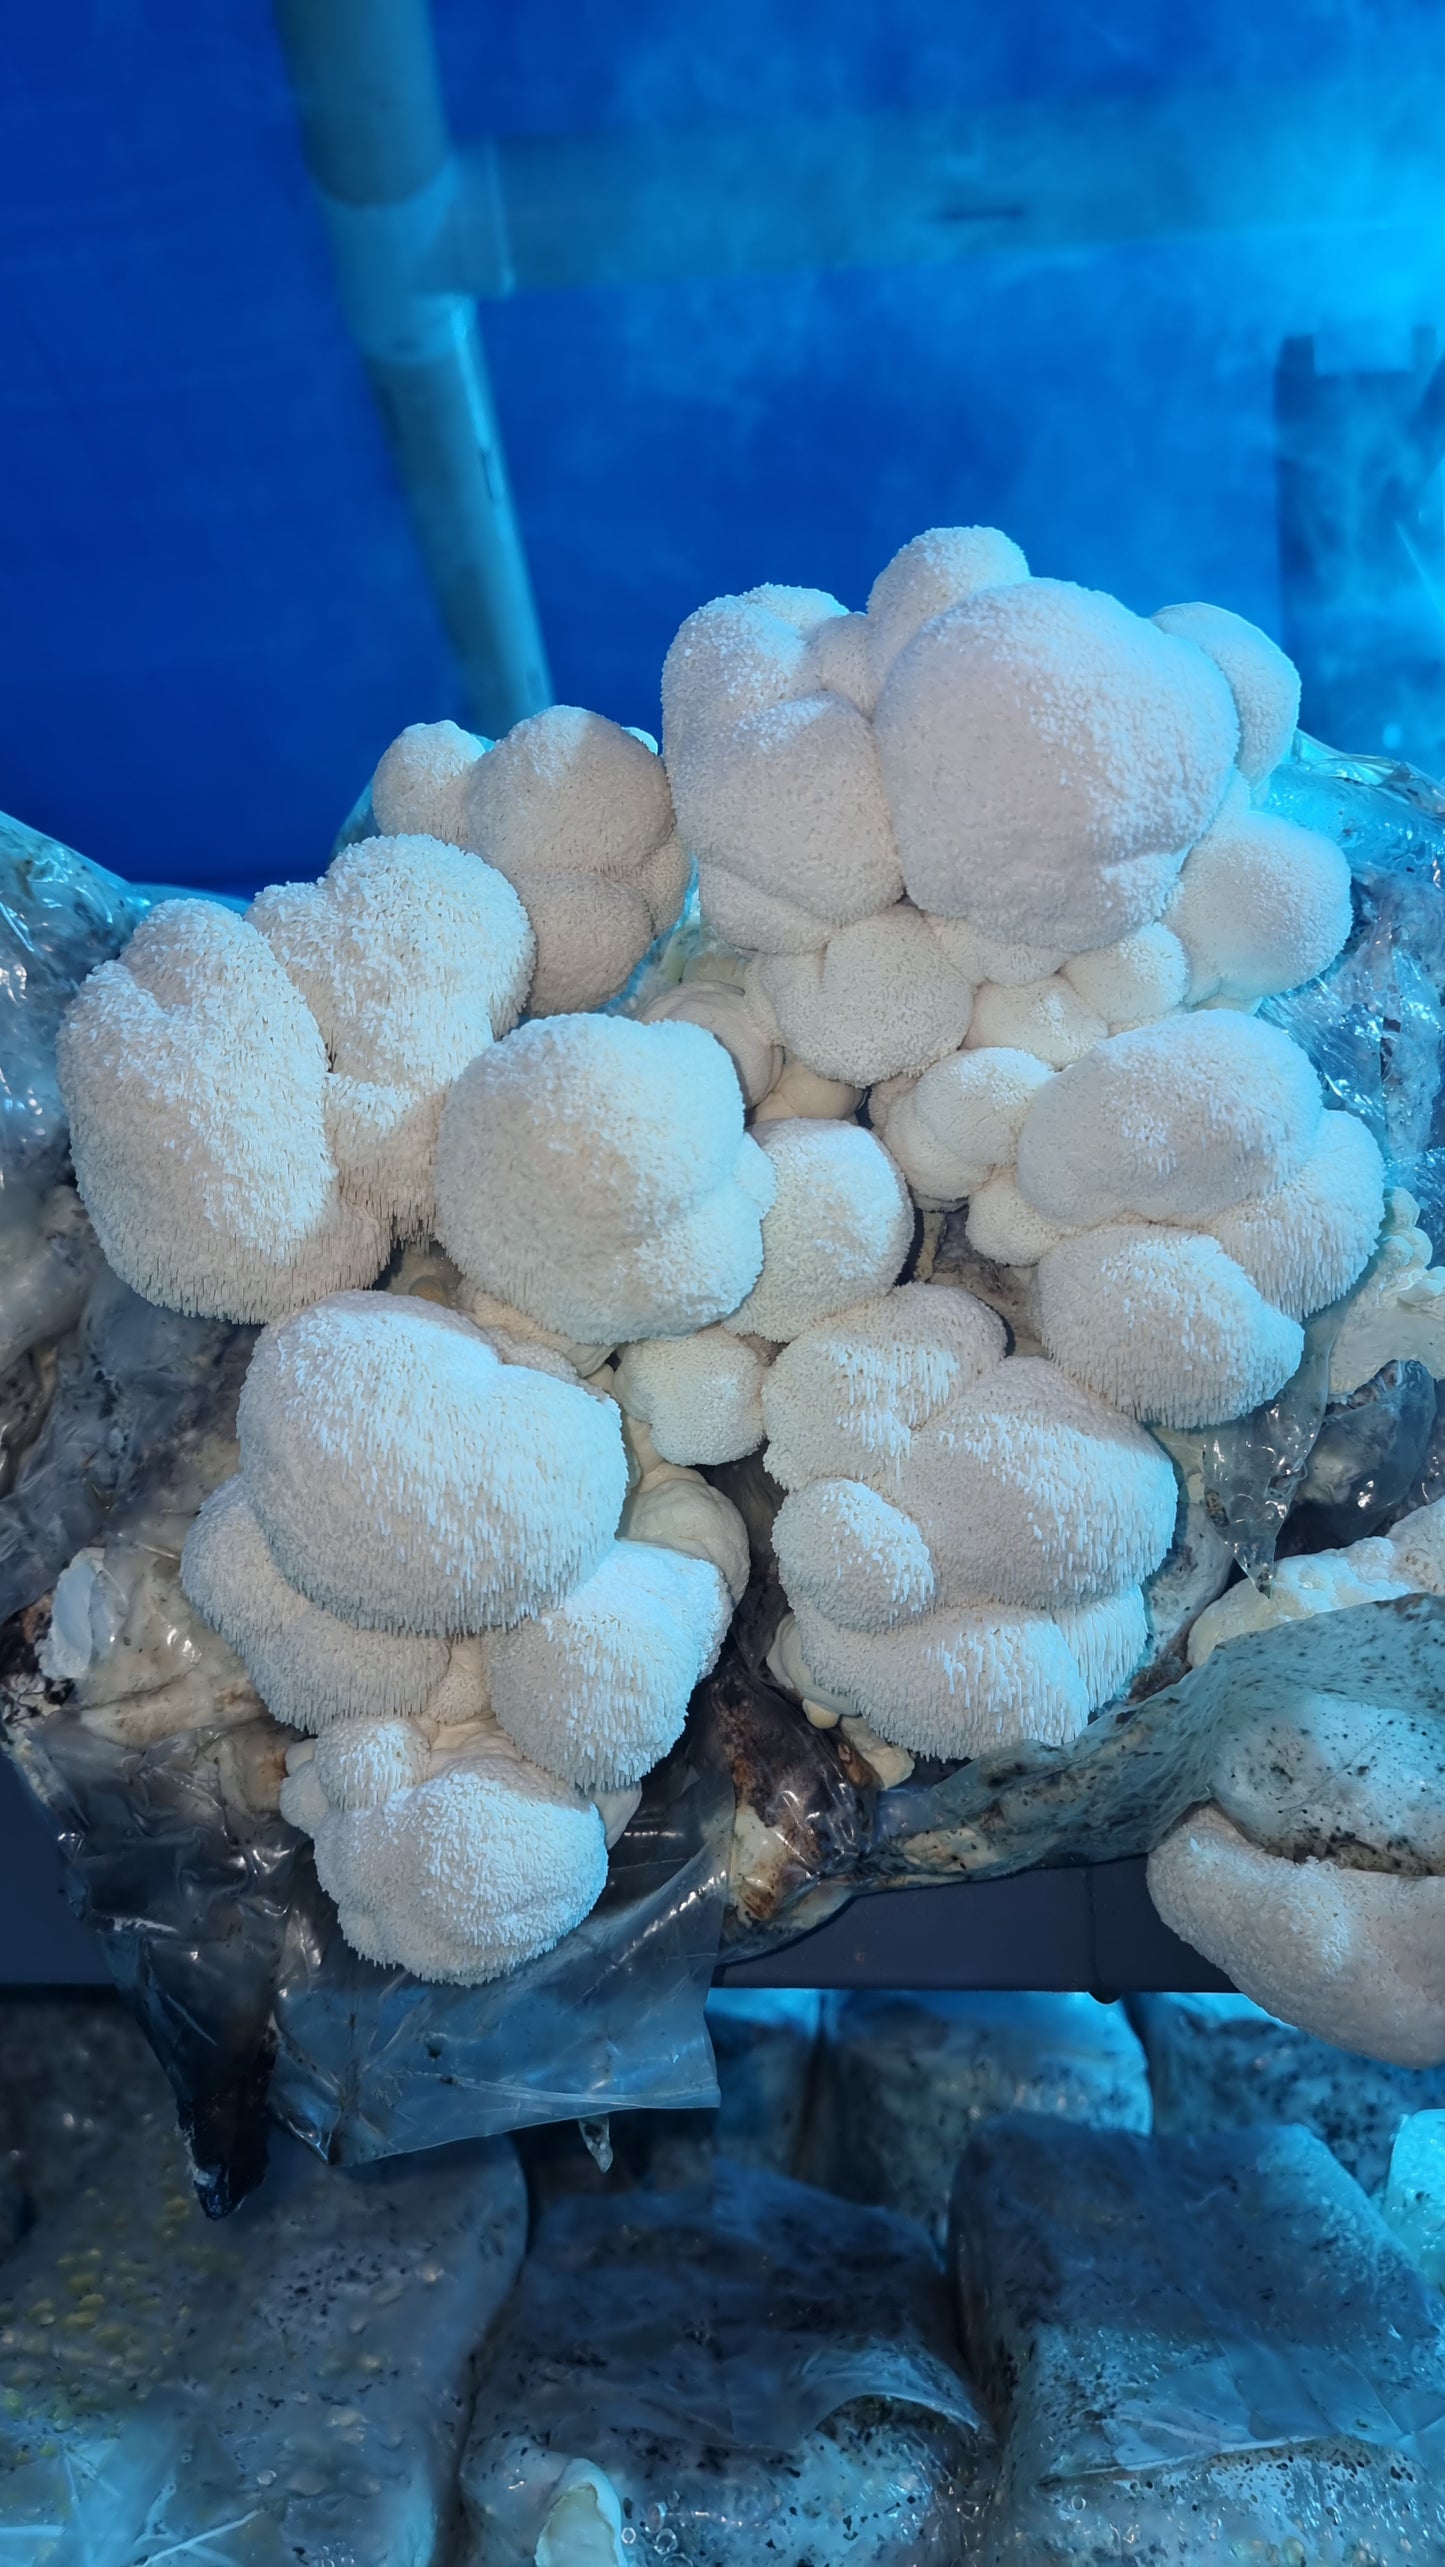
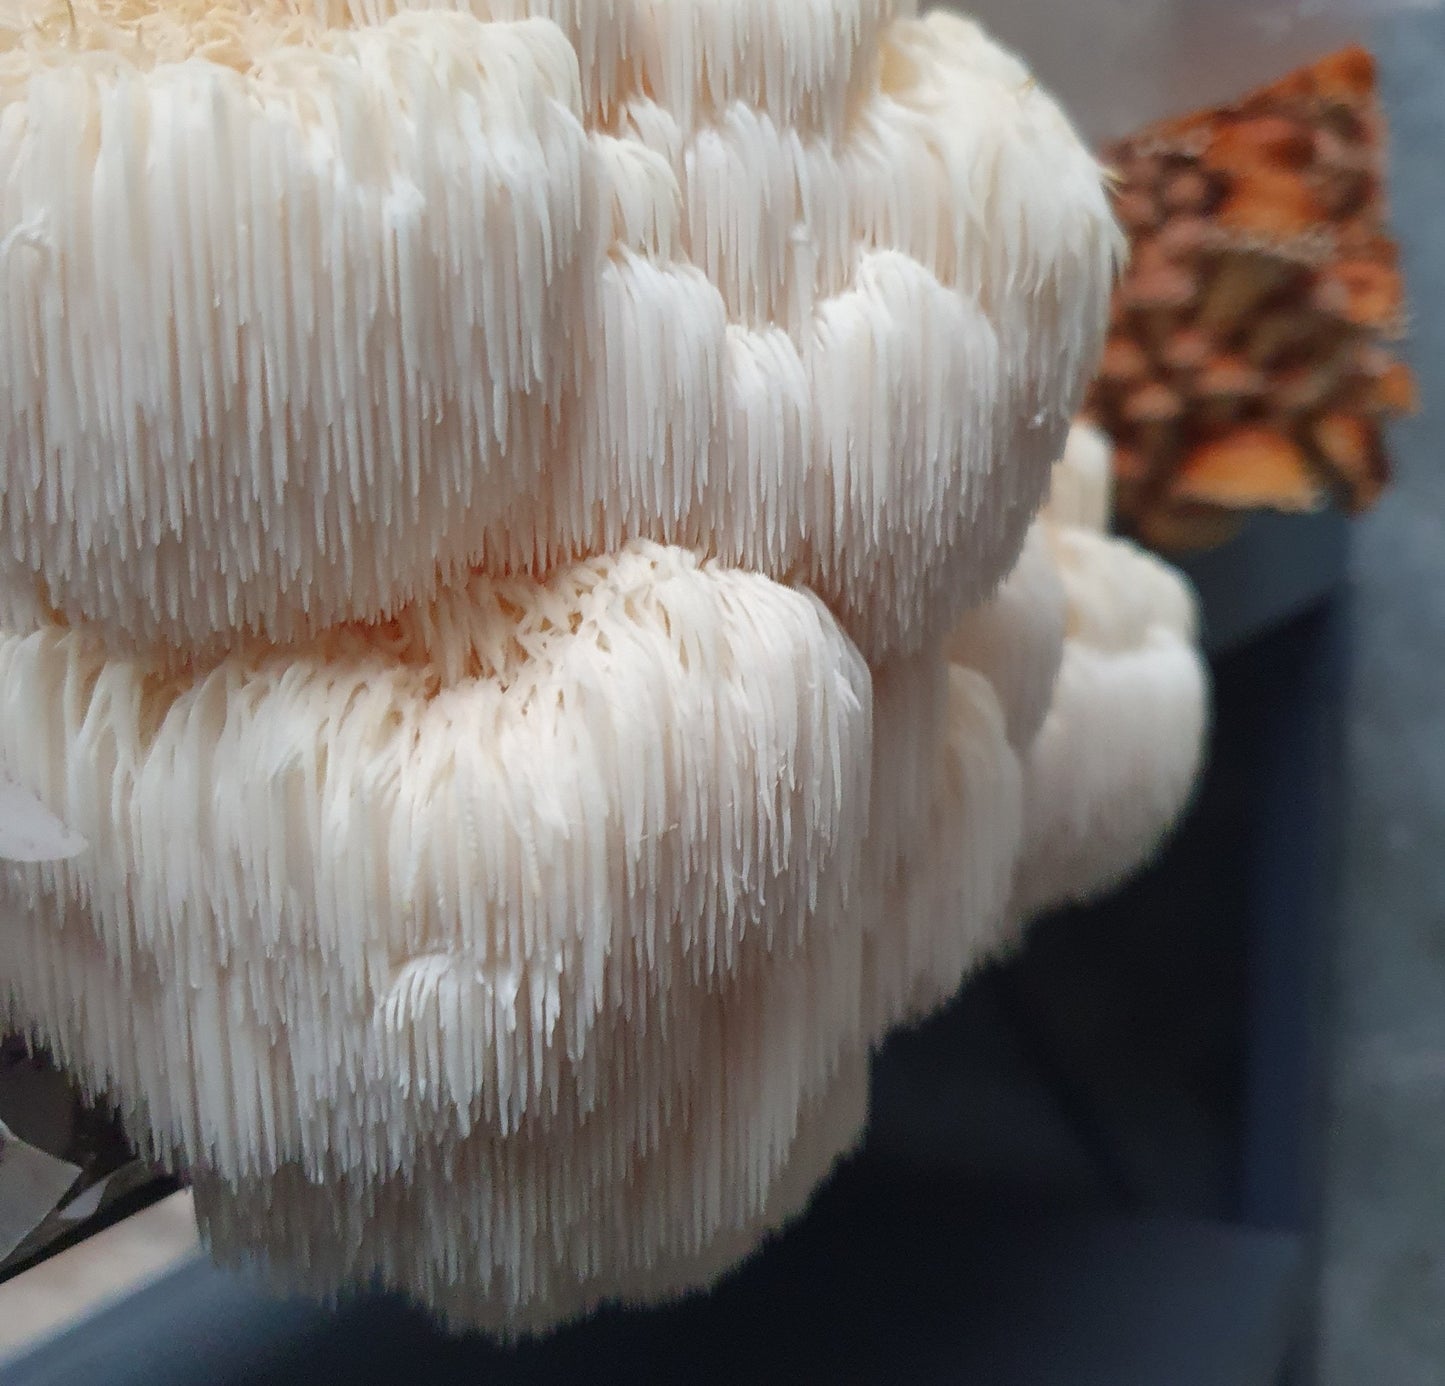
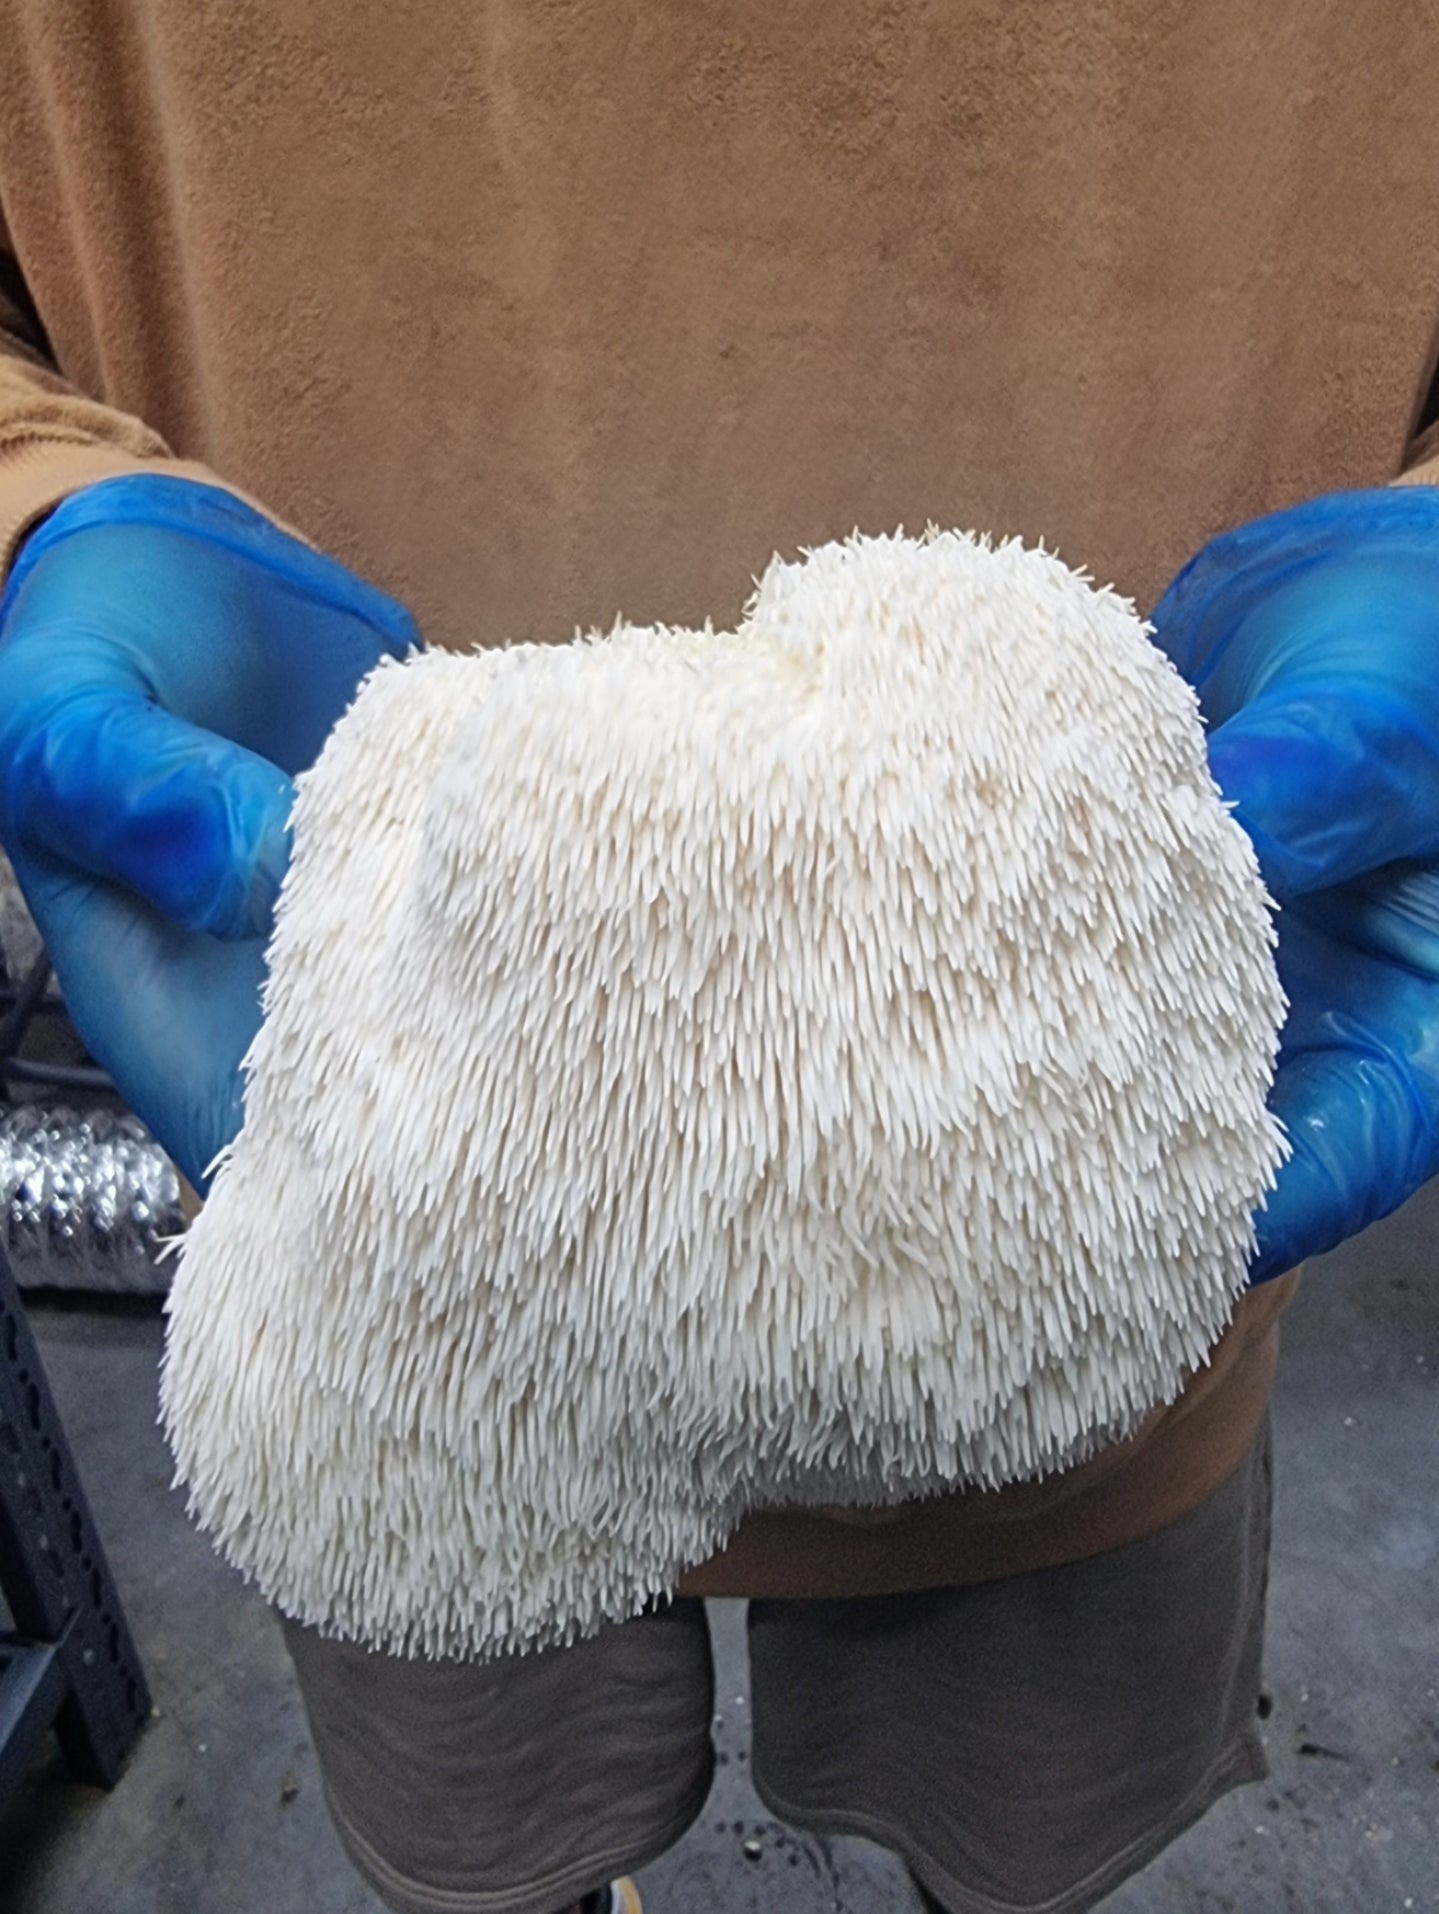
- Lion’s Mane mushrooms: Offer exceptional culinary and health benefits for those seeking something unique. They grow effectively on hardwood sawdust and have a distinctive appearance and taste.
2. Knowing Mushroom Growth Requirements

Understanding the specific growth requirements of mushrooms is essential for setting up a successful low-tech mushroom farm. Here are the four critical factors you need to consider:
- Temperature: Different mushroom varieties thrive at different temperatures. Generally, most mushrooms prefer a range between 13°C and 21°C. Maintaining a stable temperature within this range is crucial to ensure optimal growth.
- Humidity: Mushrooms require high humidity levels to grow effectively, usually between 80% and 95%. You can do this by regularly misting the growing area or using a humidifier. Maintaining consistent humidity is vital to prevent the substrate from drying out and to promote healthy mushroom development.
- Light: While mushrooms do not require light for photosynthesis, they do need some light for fruiting. Indirect sunlight or low-intensity fluorescent light for a few hours daily is typically sufficient. Avoid direct sunlight, which can dry the substrate and harm the mushrooms.
- Ventilation: Proper air circulation is necessary to prevent the buildup of carbon dioxide, which can hinder mushroom growth. Ensure your growing area has adequate ventilation to allow fresh air to flow in and out. This can be achieved through natural airflow or by using small fans.
3. Gathering Essential Supplies and Equipment

Setting up a low-tech mushroom farm requires gathering the right supplies and equipment. Begin with suitable growing containers such as buckets, bags, or trays, ensuring they are clean and have proper drainage if necessary.
Choose a substrate that matches the needs of your chosen mushroom variety, with options including straw, sawdust, coffee grounds, or composted manure. Obtain high-quality spawn from a reputable supplier, ensuring you get the correct type for your mushrooms.
For sterilisation, you’ll need large pots to pasteurise the substrate, eliminating contaminants and creating a healthy growing environment. Maintaining the proper humidity and temperature is crucial, so use a hygrometer and thermometer to monitor conditions, and consider a spray bottle for misting or a small humidifier for larger setups.
Open windows, use fans or install vents to ensure good airflow in the growing area and prevent the buildup of carbon dioxide. Gathering these essential supplies and equipment will set the foundation for a productive and efficient low-tech mushroom farm, ensuring you are well-prepared to begin your cultivation journey.
4. Preparing the Growing Area

Creating an ideal growing area is vital for the success of your low-tech mushroom farm. Start by selecting a suitable location: a basement, garage, shed, or shaded and well-ventilated space. Ensure the area is clean and free from contaminants, as mushrooms are highly sensitive to environmental conditions.
Install shelving or racks to maximise space and allow for multiple levels of growth. This setup enables you to cultivate more mushrooms in a limited area. Line the shelves with plastic or trays to contain the substrate and maintain cleanliness.
Maintain optimal temperature and humidity levels. For most mushroom varieties, a temperature range of 13°C to 21°C and humidity levels between 80% and 95% are ideal. A thermometer and hygrometer are used to monitor these conditions regularly. Use a small humidifier to maintain humidity and a heater or cooling fan to regulate temperature if necessary.
Ensure proper ventilation to prevent the buildup of carbon dioxide. Adequate airflow can be achieved by opening windows, using fans, or installing vents. Good ventilation helps maintain a healthy environment and promotes robust mushroom growth.
5. Preparing the Substrate

Proper substrate preparation is crucial for successful mushroom cultivation. Choose a suitable substrate such as straw, sawdust, coffee grounds, or composted manure based on your mushroom variety.
Pasteurise or sterilise the substrate by submerging it in hot water (60-80°C) for an hour or using a lime bath for 12-24 hours to eliminate harmful microorganisms.
Drain the substrate thoroughly until moist but not waterlogged, and let it cool to room temperature. Mix the substrate with mushroom spawn evenly using the layering or mixing method.
Finally, the inoculated substrate is placed into prepared growing containers or bags and sealed. This preparation provides a strong foundation for healthy mushroom growth and abundant harvests.
6. Inoculating the Substrate

Inoculating the substrate involves introducing mushroom spawn into the prepared substrate. Ensure the substrate is cooled to room temperature and adequately moistened.
Use high-quality spawn and choose between the layering method (alternating layers of substrate and spawn) or the mixing method (thoroughly mixing spawn with the substrate).
After inoculating the substrate, place it into your prepared growing containers or bags and seal them to create a conducive environment for the mycelium to colonise. Proper substrate preparation is crucial for providing a solid foundation for your mushrooms, leading to healthy growth and bountiful harvests.
6. Incubation and Colonisation

After inoculating the substrate, place the containers or bags in a dark, warm environment (21°C to 27°C) with high humidity (80-90%). Ensure proper ventilation to prevent carbon dioxide buildup.
Monitor the substrate regularly for white mycelium growth, indicating healthy colonisation. Remove any contaminated substrate immediately.
The incubation period typically lasts several weeks until the substrate is fully colonised and appears white and fuzzy, signalling readiness for the fruiting stage. Maintaining optimal conditions during incubation ensures a successful mushroom harvest.
7. Fruiting and Harvesting

When the substrate is fully colonised and white, move it to a well-lit area with indirect sunlight or low-intensity fluorescent lighting. Maintain temperatures of 15°C to 20°C and increase humidity to 90-95% by misting or using a humidifier.
Ensure good ventilation to prevent carbon dioxide buildup. Within days to weeks, mushroom pins will form and grow into mature mushrooms. Harvest just before the caps fully open using a clean, sharp knife to avoid damaging the mycelium. Regularly check and harvest as mushrooms mature to enjoy multiple flushes from one substrate batch.
Troubleshooting Common Problems

Even with a well-organised setup, mushroom farming can encounter a range of issues. Here’s how to tackle them effectively to keep your farm running smoothly.
Contamination
A major concern in mushroom farming is contamination, which can be caused by mould or bacteria. This often happens due to unsterilised tools or a lack of hygiene in the growing environment.
To prevent this, always sterilise tools, clean surfaces regularly, and wear gloves when handling the substrate. A 70% alcohol solution works best for disinfecting equipment.
Slow Growth
Mushrooms need specific conditions to grow efficiently. If growth is slow, it’s likely due to improper humidity or temperature. Mushrooms thrive in warm, moist environments. Use a hygrometer to monitor humidity levels and mist the grow area frequently.
Additionally, ensure the temperature stays within the recommended range for your mushroom species.
Poor Yield
If your yield is lower than expected, inadequate nutrition in the substrate could be the cause. Make sure the substrate contains the correct balance of nutrients, such as straw, sawdust, or coffee grounds, depending on the type of mushroom you're growing.
Pests
Fungus gnats and other pests are common in mushroom farms. Install fine mesh or insect screens around the grow area, and use organic pest control methods like neem oil to keep infestations at bay.
Drying Out
If your mushrooms are drying out too quickly, your growing environment may lack sufficient moisture.
Regular misting and maintaining an optimal humidity level will prevent this issue. Consider placing a humidity tent over the grow area to retain moisture.
Scaling Up Your Operation
Once you've mastered the basics of low-tech mushroom farming, scaling up your operation can increase productivity and profitability.
Start by evaluating your current setup and identifying areas for expansion. To boost yield, consider increasing the number of growing containers or bags. Additional shelving units can help maximise vertical space and accommodate more substrate.
Upgrading your environmental controls is crucial. Automated temperature, humidity, and ventilation systems will benefit a more extensive operation. Automated humidifiers, thermostats, and fans can help maintain optimal conditions consistently, reducing manual labour and improving efficiency.
Enhancing substrate preparation methods can also contribute to scaling up. Consider bulk pasteurisation techniques, such as larger pots or dedicated pasteurisation units. Purchasing substrate in bulk quantities can reduce costs and ensure a steady supply for your expanded farm.
Another key factor is streamlining the inoculation process. Using more efficient inoculation tools or techniques, like grain spawn jars or liquid culture, can save time and improve spawn distribution.
Finally, develop a marketing strategy to sell your increased mushroom yield. Explore local farmers' markets, restaurants, and online platforms to reach a broader customer base. By carefully planning and implementing these steps, you can successfully scale up your low-tech mushroom farm and enjoy greater returns on your investment.
Frequently Asked Questions (FAQs)
Addressing these common questions will help you start and manage your low-tech mushroom farm confidently, ensuring a successful and fruitful experience.
1. What are the easiest mushrooms to grow for beginners?
Oyster mushrooms are ideal for beginners due to their fast growth and adaptability to various substrates, such as straw and coffee grounds.
2. How much space do I need for a small-scale mushroom farm?
A small-scale setup can fit in a basement, garage, or shed. You can start with a few square metres, using vertical shelving to maximise space.
3. Can I use recycled materials for my substrate?
Yes, recycled materials like coffee grounds, cardboard, and agricultural waste can be effective substrates for mushroom cultivation.
4. What should I do if my mushrooms aren’t fruiting?
Check temperature, humidity, and light levels. Ensure proper ventilation and that the substrate is adequately moist but not soggy.
Conclusion
Setting up a low-tech mushroom farm is a rewarding endeavour that provides fresh, home-grown produce. Follow our detailed guide to get started and enjoy the benefits of cultivating your mushrooms.
Visit Xotic Mushrooms Melbourne for supplies and expert advice to ensure your farm thrives. Start your mushroom farming journey today!
